Sheet Metal Fabrication Cost: What Happens After the Laser
1. Why Cutting and Bending Are the Cheap Steps
2. A Worked Example: One Steel Enclosure, Two Designs
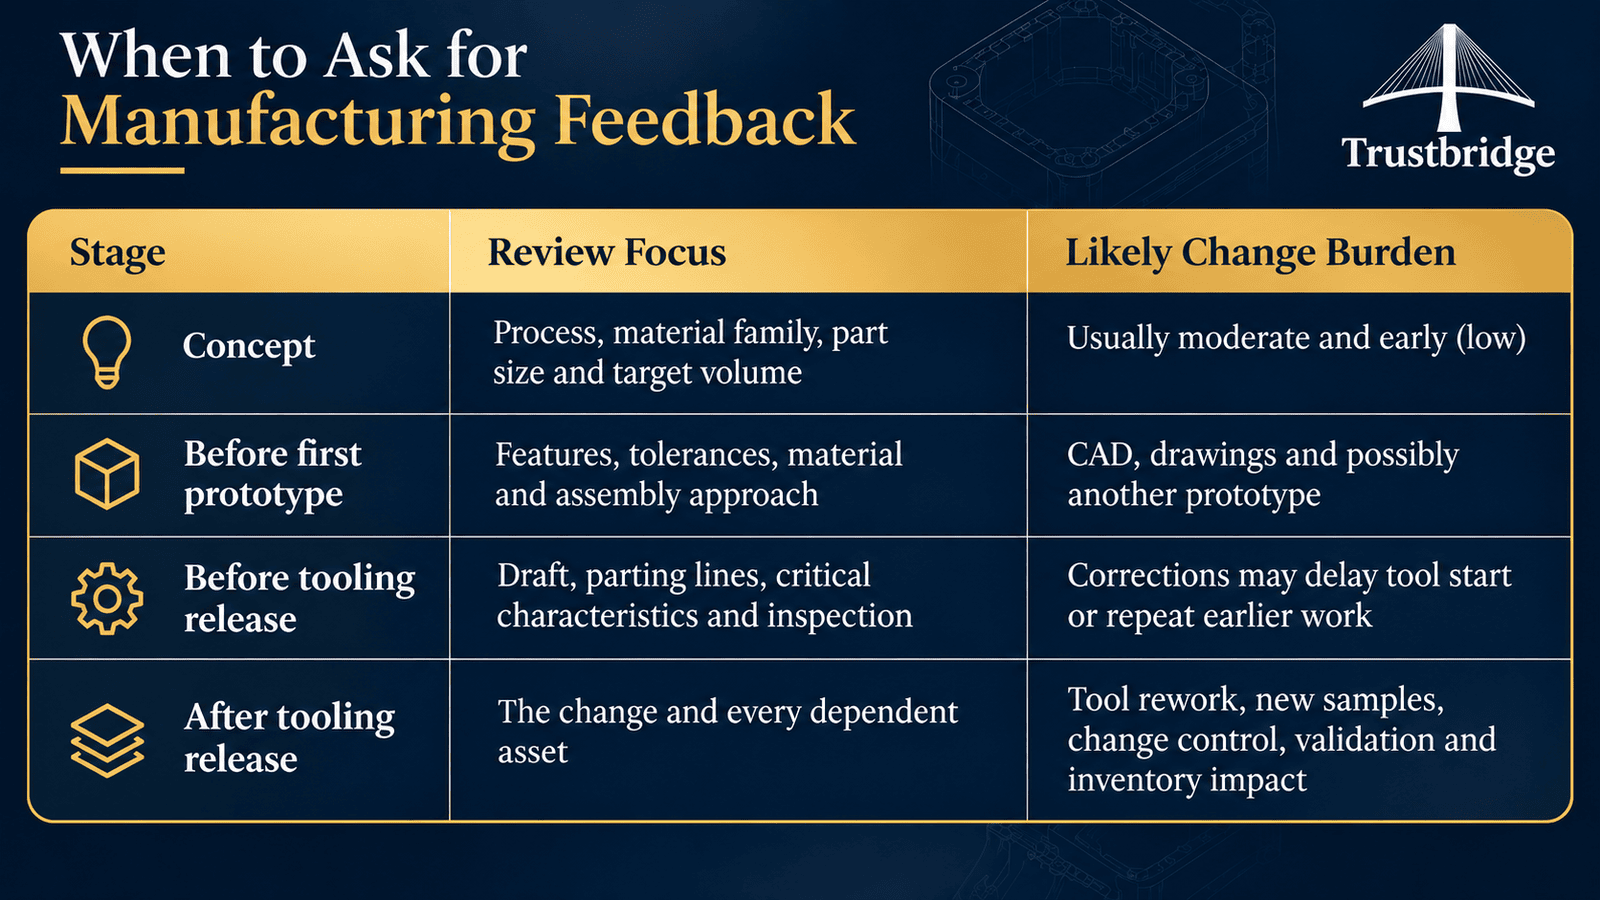
When to Ask for Manufacturing Feedback
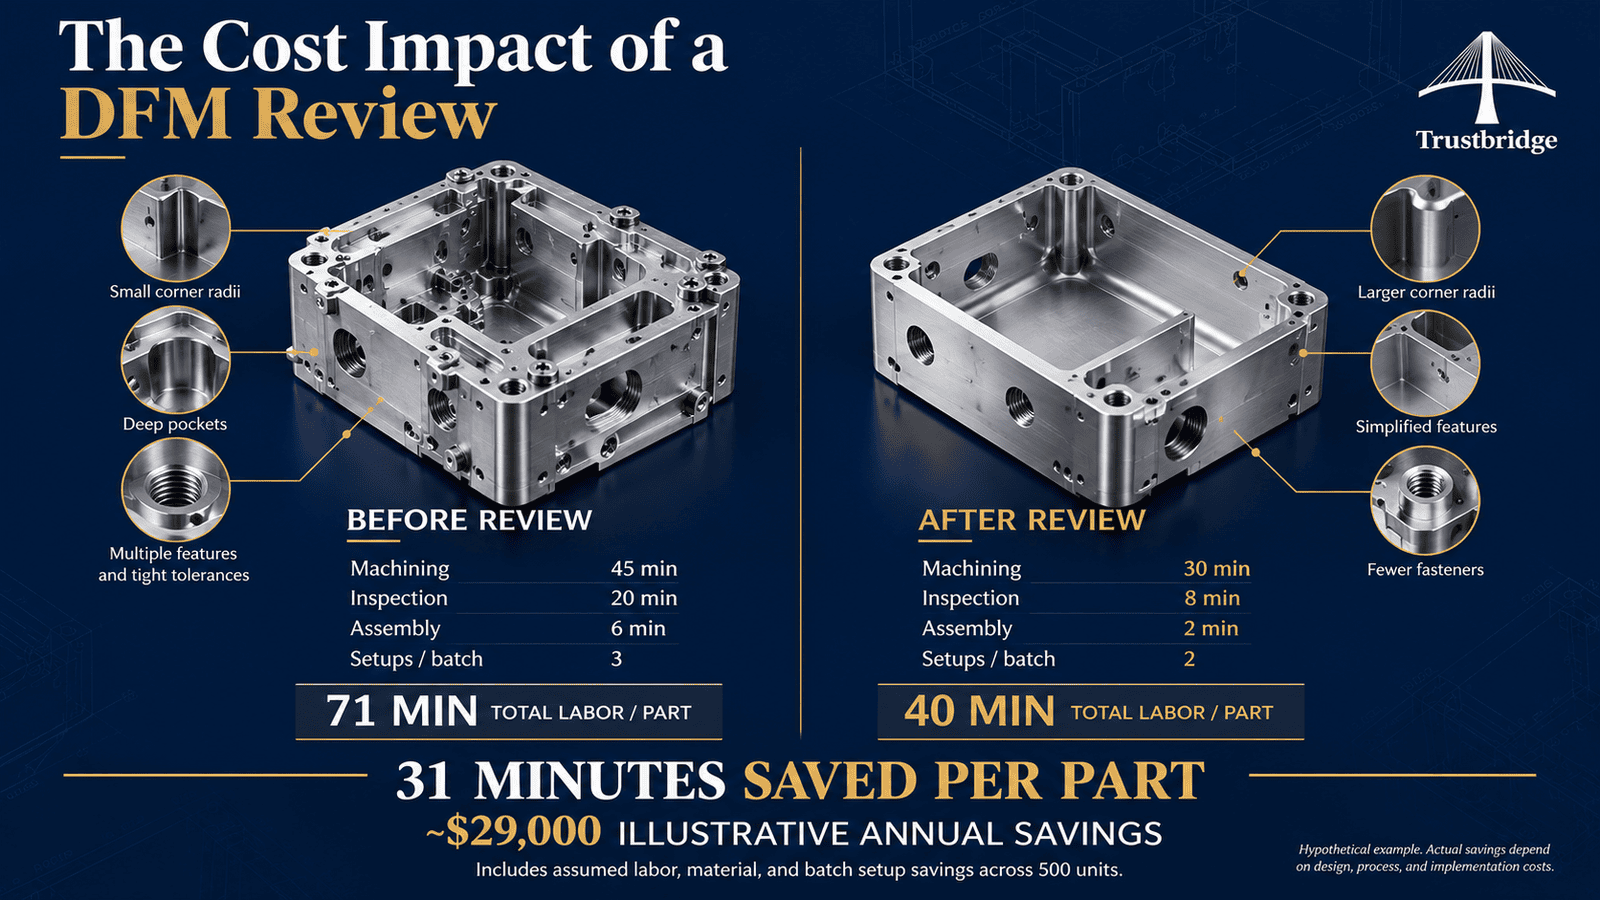
What the numbers show. In the original design, cutting and bending take 4 + 6 = 10 minutes. Everything after the brake takes 20 + 15 + 6 + 10 + 12 + 8 = 71 minutes, nearly 88 percent of the total.
Finishing still takes 31 of the revised design's 43 minutes, about 72 percent. Post-laser work doesn't disappear; the goal is to stop paying for the parts of it the product doesn't need.
The cheaper design isn't the one with the cheapest flat pattern. It's the one that needs the least work after cutting.
3. Welding and Grinding: Set by How the Part Is Joined
When a design joins separate panels or closes the corners of a formed box, those joints usually have to be welded. Full seam welds take far longer than tack or stitch welds, and thin sheet needs care to avoid distortion and burn-through. More seams, and longer ones, mean more welding labor.
Welds on visible surfaces are then often ground and blended so the seam disappears under the finish. Grinding is slow, manual work, and on thin material it has to be done carefully to avoid thinning or marking the surrounding surface. A drawing that calls for every weld to be ground smooth can add nearly as much time as the welding itself: 15 minutes against 20 in the example.
Design choices that reduce it
•Form instead of weld. A single flat pattern with bends, tabs and closed corners often replaces several welded panels: fewer seams to weld, fewer welds to grind and fewer pieces to fixture and align.
•Specify only the welds the joint needs. If a joint only needs strength, a few stitch or tack welds may do the job of a full seam. Call out full welds only where sealing, stiffness or appearance requires them.
•Put welds where no one looks. Welds on inside or hidden faces usually don't need grinding.
4. Hardware Insertion: Set by the Fastener Count
Sheet metal is usually too thin to hold tapped threads reliably, so threaded nuts, studs and standoffs are pressed in as self-clinching hardware, often called PEM hardware after the best-known brand. Each insert is placed and pressed individually, so a part with a dozen inserts carries a dozen extra steps, and every insert has to be checked for position and seating.
Design choices that reduce it
•Use as few inserts as the design needs. Halving the count in the example halved insertion time.
•Standardize sizes. A small number of standard thread sizes means fewer tooling changes, less risk of the wrong insert going into a hole and simpler inventory.
•Question every thread. A formed tab or slot can sometimes locate a mating part without a fastener.
5. Masking and Coating: Set by What Must Stay Bare
Before coating, some areas must be protected: threads that need to stay clean, grounding points that need bare-metal contact and surfaces that mate with other parts. Masking is done by hand with plugs, caps or tape, and each masked feature costs time twice: once before coating and again when the masking comes off.
Coating itself adds a chain of steps: cleaning and pretreatment, racking, applying the powder or paint, curing and unloading. Many fabricators send coating to a specialist finisher, which adds transport, scheduling and another handoff.
Design choices that reduce it
•Group features that need masking, and remove bare-metal requirements the product doesn't need.
•Place grounding points where they're easy to mask, for example on an open flat face rather than deep in a corner.
•Decide the hardware sequence early. Installing inserts after coating avoids masking threads, but the mounting holes then need to stay clear of coating or be sized for it. Agree on the order with the fabricator and finisher.
•Ask whether coating is in-house or outsourced, so the route and lead time are known before the design is released.
6. Inspection: Set by Which Surfaces Must Look Flawless
Finished parts are checked for dimensions, hardware placement, weld quality and surface finish. Cosmetic inspection, looking for scratches, runs, orange peel and visible weld lines, is slow and partly subjective, and it gets slower when the drawing holds every face to the highest standard.
Design choices that reduce it
•Mark which surfaces are cosmetic. Many teams use simple classes: A for customer-facing, B for occasionally visible and C for hidden.
•Define what's acceptable on each class, such as allowed scratch length or whether weld marks may show on C surfaces, so inspection is quicker and less open to judgment.
In the example, limiting top cosmetic quality to the visible faces halved inspection time and, with welds moved inside, removed most of the grinding.
7. A Finishing Checklist for the Design Review
Before a sheet metal design is released for quote, work through these questions with the fabricator, or with whoever reviews the design for manufacturability:
1.Can any welded joint be replaced by a bend, tab or closed corner?
2.Does every full weld need to be full, and does every ground weld sit on a visible face?
3.Which faces are cosmetic, and is that marked on the drawing?
4.Is every insert needed, and are the sizes standardized?
5.What must stay bare during coating, and is it easy to mask?
6.Will hardware go in before or after coating?
7.Is coating done in-house or outside, and how does that change the route?
8.How many steps and handoffs does the part go through from flat pattern to final inspection?
Conclusion: From Cheapest Flat Pattern to Cheapest Finished Part
The laser is usually the fastest and cheapest step in making a sheet metal part. Much of the cost comes afterwards, in welding, grinding, hardware, masking, coating and inspection, and those steps follow from design decisions about how the part is joined, how many fasteners it uses, which surfaces must be cosmetic and how it's coated.
That's why finishing belongs in the design review rather than being discovered when the first quote arrives. Asking how a part will be welded, coated and inspected while the design can still change usually saves far more than shaving seconds off the cutting time.
Trustbridge's design work is grounded in manufacturing: production constraints are considered during design, when there is still room to adjust geometry, materials and manufacturing approach.
See design for manufacturability (DFM) services.
Designing a sheet metal part or enclosure?Discuss a Design Project with Trustbridge's design team to review it for fabrication and finishing before it goes to production.
Frequently Asked Questions
What are secondary operations in sheet metal fabrication?
Secondary operations are the steps after primary cutting and forming: welding, grinding, deburring, hardware insertion, tapping, masking, coating, assembly and inspection. They're often where most of the labor, and most of the variation, in a sheet metal part's cost comes from.
Is powder coating or painting cheaper for sheet metal parts?
Often powder coating, but it depends on the part, the volume and the finisher. Powder goes on in a single coat, overspray can be reclaimed and it suits steel and aluminum sheet metal well. Liquid paint can be the better choice for small runs in special colors, very large parts or assemblies that can't take the oven cure, typically around 160–200°C (320–400°F). Ask the fabricator or finisher to price both for the specific part.
When should hardware be inserted in sheet metal: before or after coating?
It depends on the hardware, the coating and how the threads must perform. Inserting before coating means masking the threads; inserting after avoids that but needs mounting holes that stay clear of coating or are sized for it. Agree on the sequence with the fabricator and finisher during design, because it affects masking, coverage and thread quality.
How do you specify cosmetic surfaces on a drawing?
Name the cosmetic faces and state the acceptable finish for each. A common approach is surface classes, A for customer-facing, B for occasionally visible and C for hidden, with the allowed defects listed for each class.
Do sheet metal fabricators do coating in-house?
Some do; many send parts to specialist finishers. In-house coating can shorten lead times and reduce handling, while outside finishers may offer a wider range of coatings. Ask early, because outsourced coating adds transport and scheduling time to every order.