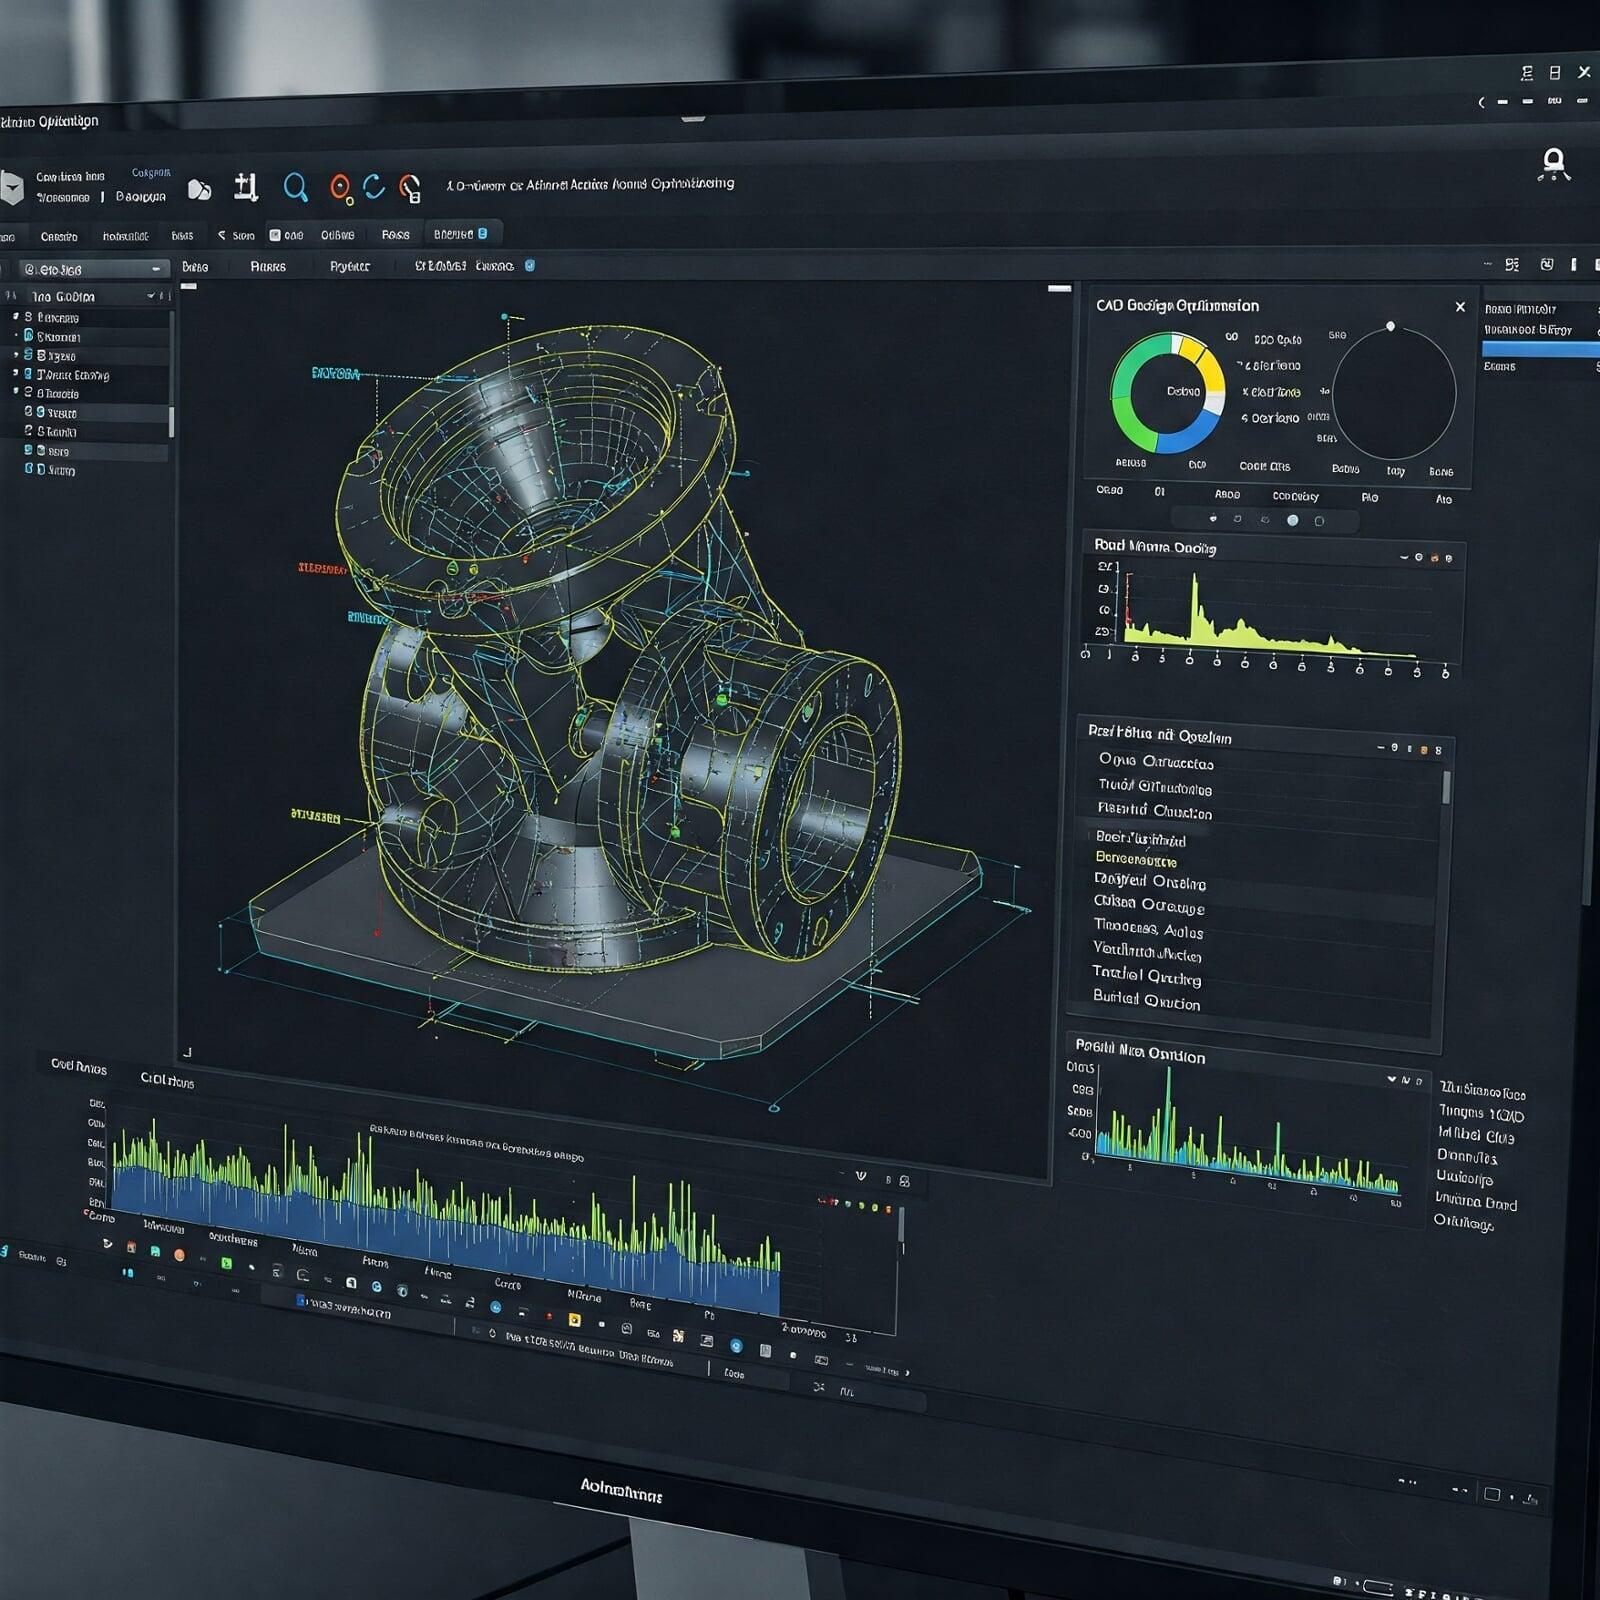
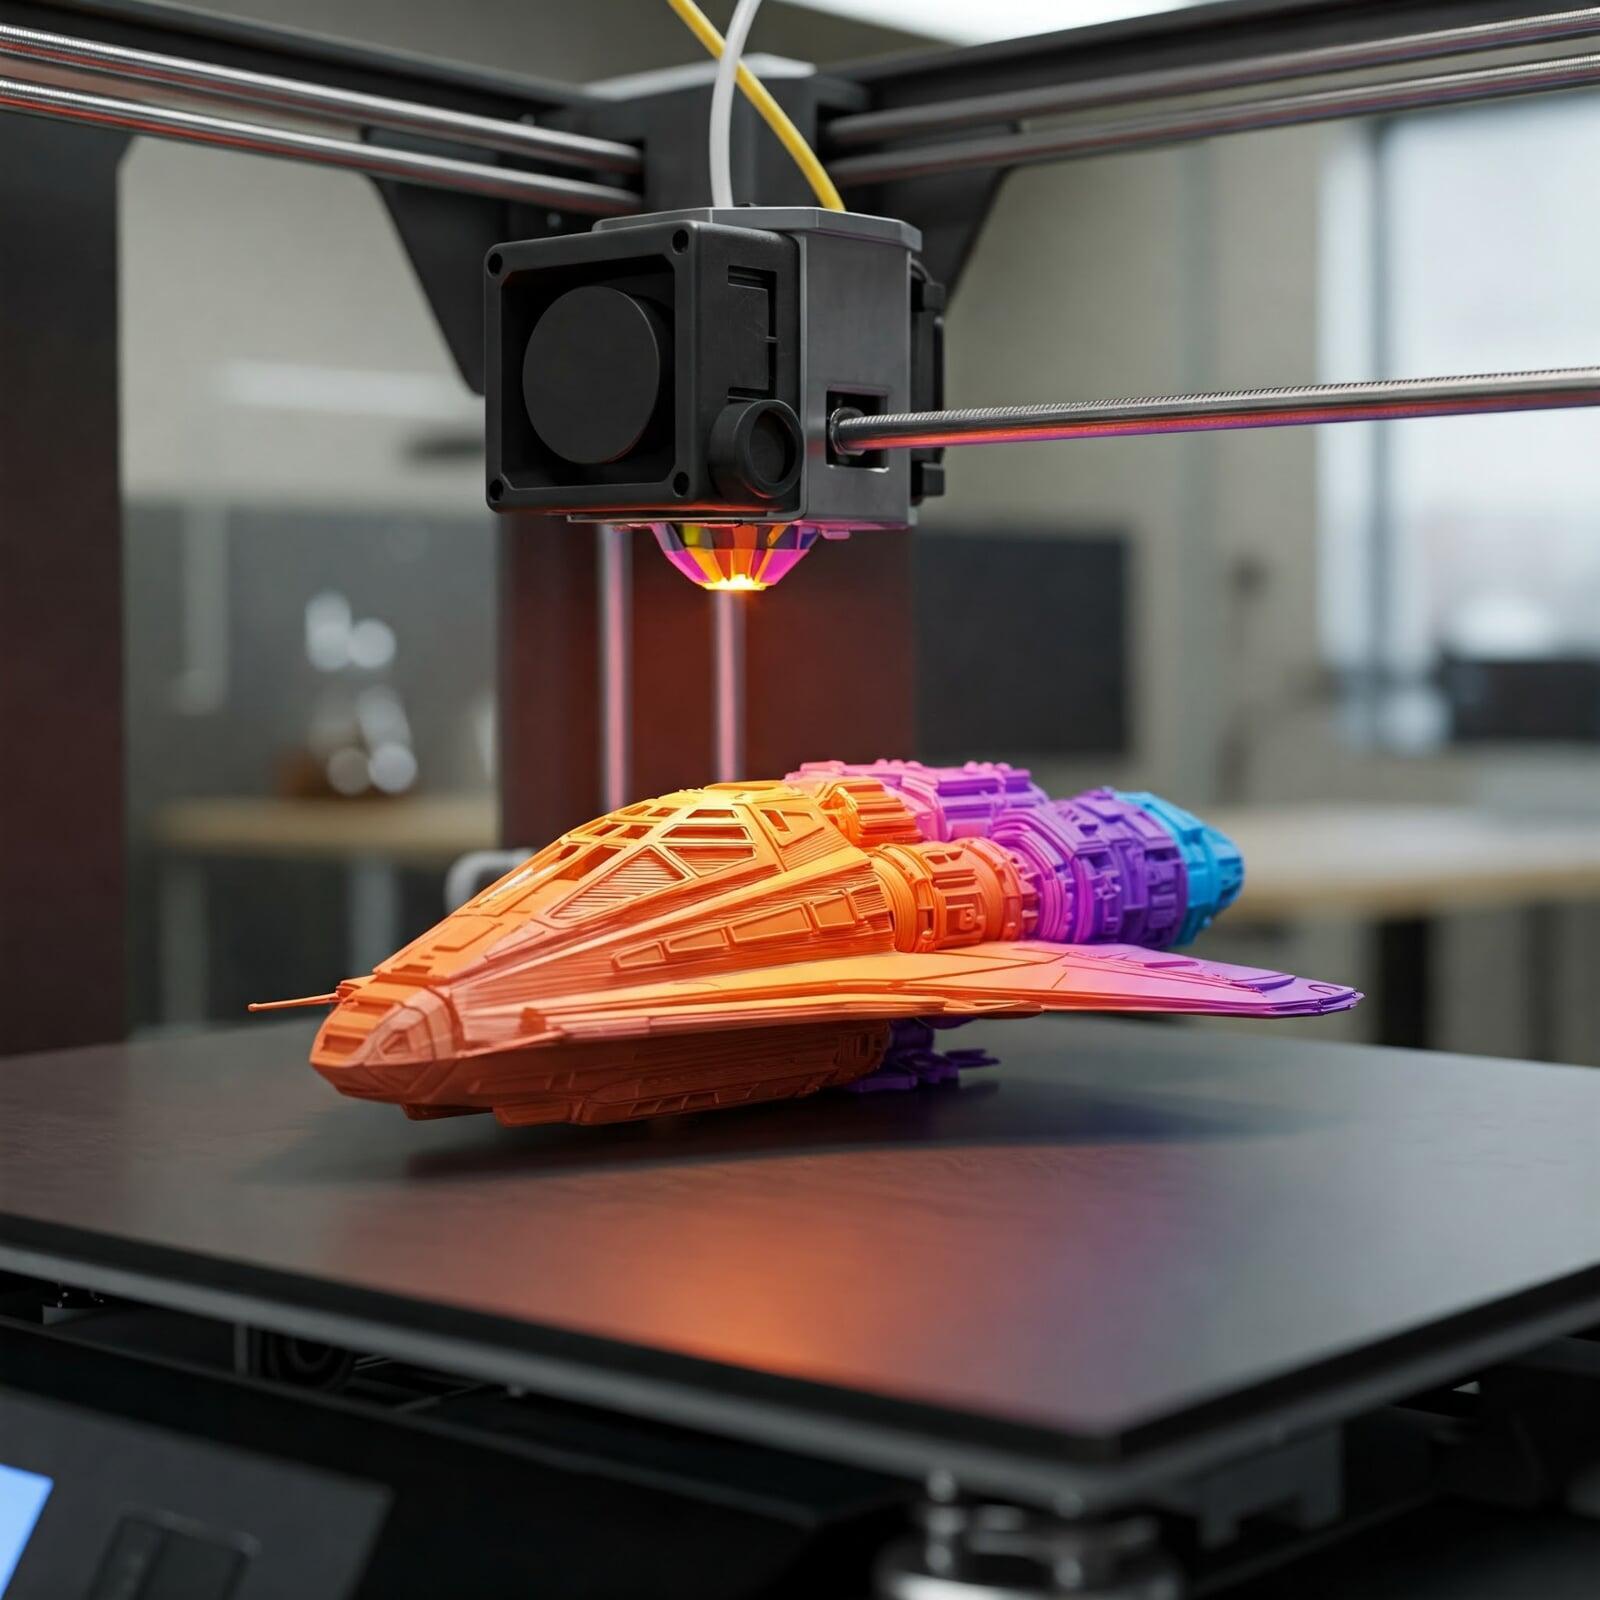
Optimizing CAD Designs for Additive Manufacturing: A Guide to Support-Free Printing
Introduction
Additive manufacturing (AM), commonly known as 3D printing, offers unprecedented design freedom compared to traditional subtractive processes. However, many designers still approach CAD for additive manufacturing using traditional design-for-manufacturing (DFM) principles, which can result in inefficient builds that require excessive support structures. Support structures not only increase material consumption and printing time but also add post-processing steps such as support removal, sanding, and finishing.
By adopting design strategies specifically tailored to minimize or eliminate support structures, you can achieve more cost-efficient, faster, and higher-quality prints. This white paper provides an in-depth guide to designing for support-free additive manufacturing, highlighting key techniques that improve print performance while reducing waste and post-processing effort.

1. Understanding Support Structures and Their Impact
Support structures are temporary material additions that provide reinforcement to overhangs, bridges, and other geometries that cannot be printed unsupported. While necessary in some cases, supports can be a significant cost and time driver in additive manufacturing processes.
Key Impacts of Support Structures:
·Increased Material Usage: Supports consume additional material that must be removed and discarded after printing.
·Longer Print Times: Printing supports adds time to the build process, especially for large overhangs or intricate designs.
·Post-Processing Complexity: Removing supports can lead to surface imperfections that require additional finishing steps.
·Design Constraints: Some features may need redesigning to avoid supports in critical areas where removal could damage the part.
The goal of support-free printing is to design parts that can be printed with minimal or no support structures while maintaining strength, function, and aesthetics.
2. Design Strategies to Minimize Supports
Optimize Overhang Angles
In additive manufacturing, overhangs occur when a section of the model extends outward without underlying support. Overhangs that exceed a certain angle relative to the build plate typically require supports.
Key Recommendations:
·Design with Shallow Overhangs: Most 3D printers can handle overhangs up to 45° without supports. Aim to keep overhang angles below 45° whenever possible.
·Use Chamfers Instead of 90° Angles: Replace sharp edges and perpendicular overhangs with chamfers (angled transitions) to reduce unsupported areas.
·Break Up Large Overhangs: If a large overhang is unavoidable, divide it into smaller, printable sections or add gradual transitions.
Example:
A housing component with a 90° ledge was redesigned with a 30° chamfer, eliminating the need for supports and reducing material usage by 15%.
Design for Bridging
Bridging occurs when the printer spans a gap between two supported points without printing supports underneath. The success of bridging depends on the printer’s capabilities and the length of the bridge.
Key Recommendations:
·Keep Bridges Short: Aim for bridges shorter than 10-15mm to avoid sagging, depending on your printer’s capabilities.
·Use Arch-Shaped Bridges: Instead of flat bridges, use arches or curves to distribute weight and reduce sagging.
·Incorporate Cooling: Ensure adequate cooling for bridged layers to solidify quickly and maintain dimensional accuracy.
Example:
A designer replaced a flat bridge with an arched structure, allowing the printer to span a 20mm gap without supports while maintaining structural integrity.
Use Self-Supporting Geometries
Certain geometries, such as domes, cones, and natural curves, can be printed without supports due to their gradual transitions.
Key Recommendations:
·Use Circular and Conical Features: Instead of flat horizontal overhangs, incorporate dome or cone-like features that build layer-by-layer without sudden unsupported spans.
·Replace Flat Ceilings with Arches: Arched or domed surfaces distribute load more evenly and eliminate the need for flat, unsupported layers.
·Utilize Honeycomb Patterns for Internal Features: Honeycomb patterns provide internal strength while minimizing flat areas that require support.
Example:
A mechanical cover with a flat roof was redesigned as a shallow dome, resulting in a completely support-free print that saved 30% on material.
Reorient the Part for Optimal Printing
Sometimes, support structures can be minimized or eliminated simply by reorienting the part on the print bed.
Key Recommendations:
·Align Overhangs Vertically: Rotate the part so that overhangs are parallel to the Z-axis, reducing the need for horizontal supports.
·Consider Symmetrical Placement: Print symmetrical parts vertically or in orientations that minimize unsupported spans.
·Utilize Part Splitting: For complex parts, split the model into smaller, support-free sections that can be printed independently and assembled post-printing.
Example:
A component originally printed flat required multiple supports for horizontal features. By reorienting it vertically, the designer reduced supports by 80% and cut print time in half.
Add Built-In Support Features
For designs that require some level of support, adding internal features that act as built-in supports can reduce the need for removable external structures.
Key Recommendations:
·Add Ribs or Gussets: Internal ribs can provide support during printing and remain part of the final structure, improving strength without needing post-processing.
·Design Snap-Off Tabs: If supports are unavoidable, design snap-off features that can be easily removed without damaging the part.
·Incorporate Supportive Fillets: Use fillets (curved transitions) at intersections to provide gradual support instead of abrupt 90° junctions.
Example:
A part with a steep internal overhang was modified to include support ribs that doubled as structural reinforcements, eliminating the need for traditional external supports.

3. Material and Printer-Specific Considerations
Different 3D printing technologies and materials have varying capabilities when it comes to handling unsupported features.
Fused Deposition Modeling (FDM)
·Best for designs with gradual overhangs and small bridges.
·Use soluble support filaments (e.g., PVA) if supports are unavoidable.
·Consider reorienting to maximize Z-axis strength.
Stereolithography (SLA)
·SLA printers can produce finer details but often require supports for intricate parts due to the liquid resin curing process.
·Supports for SLA can be minimized by using tapered transitions and careful part orientation.
Selective Laser Sintering (SLS)
·SLS printers use powder as a natural support material, making support-free designs easier.
·Focus on reducing enclosed voids that trap unfused powder, which can be difficult to remove post-print.
Example:
A designer printing a complex bracket using SLS avoided the need for post-print powder removal by adding small drainage holes to enclosed areas.
4. Common Mistakes in Support-Free Design and How to Avoid Them
Designing Without Considering Part Orientation
Failing to consider part orientation can lead to excessive supports. Always review different orientations before finalizing the CAD design.
Using Sharp Transitions and Right Angles
Sharp 90° transitions often require supports. Replace them with rounded or chamfered edges to reduce overhangs.
Neglecting Material Shrinkage or Warping
Some materials, such as ABS and nylon, are prone to shrinkage and warping, which can affect unsupported features. Consider using brims, rafts, or alternative materials to mitigate these issues.
Overlooking Printer Capabilities
Not all 3D printers have the same support-handling capabilities. Ensure that your design accounts for the specific printer’s overhang and bridge limitations.
5. Case Study: Support-Free Redesign for Efficiency
A client submitted a CAD design for a custom bracket with multiple steep overhangs and large horizontal spans that required significant support structures. The initial design resulted in a 14-hour print time and 300g of support material.
Design Adjustments:
·Overhangs were reduced to 40° using chamfers.
·Horizontal bridges were replaced with arches.
·The part orientation was changed to print vertically, eliminating unnecessary supports.
Results:
The revised design reduced print time by 40% and cut material usage by 35%, saving both time and cost.
6. Conclusion
Designing for support-free additive manufacturing is a crucial step in optimizing 3D print performance. By implementing strategies such as minimizing overhang angles, using self-supporting geometries, optimizing part orientation, and adding built-in support features, you can significantly reduce material usage, post-processing time, and overall costs. Additionally, understanding the capabilities and limitations of your specific 3D printer and material ensures that your designs are both functional and efficient.
Trustbridge is a leading design and manufacturing consultancy and service provider. We specialize in helping creators and companies bring products from conception to mass production. If you’d like to discuss any of the content in this paper or your own specific needs in detail, please Schedule a Consultation with Trustbridge. Accelerate your product’s journey to market with expert guidance. You can read more about our business in the Trustbridge Overview Paper.

